Beer Diary version 1.5.1 released
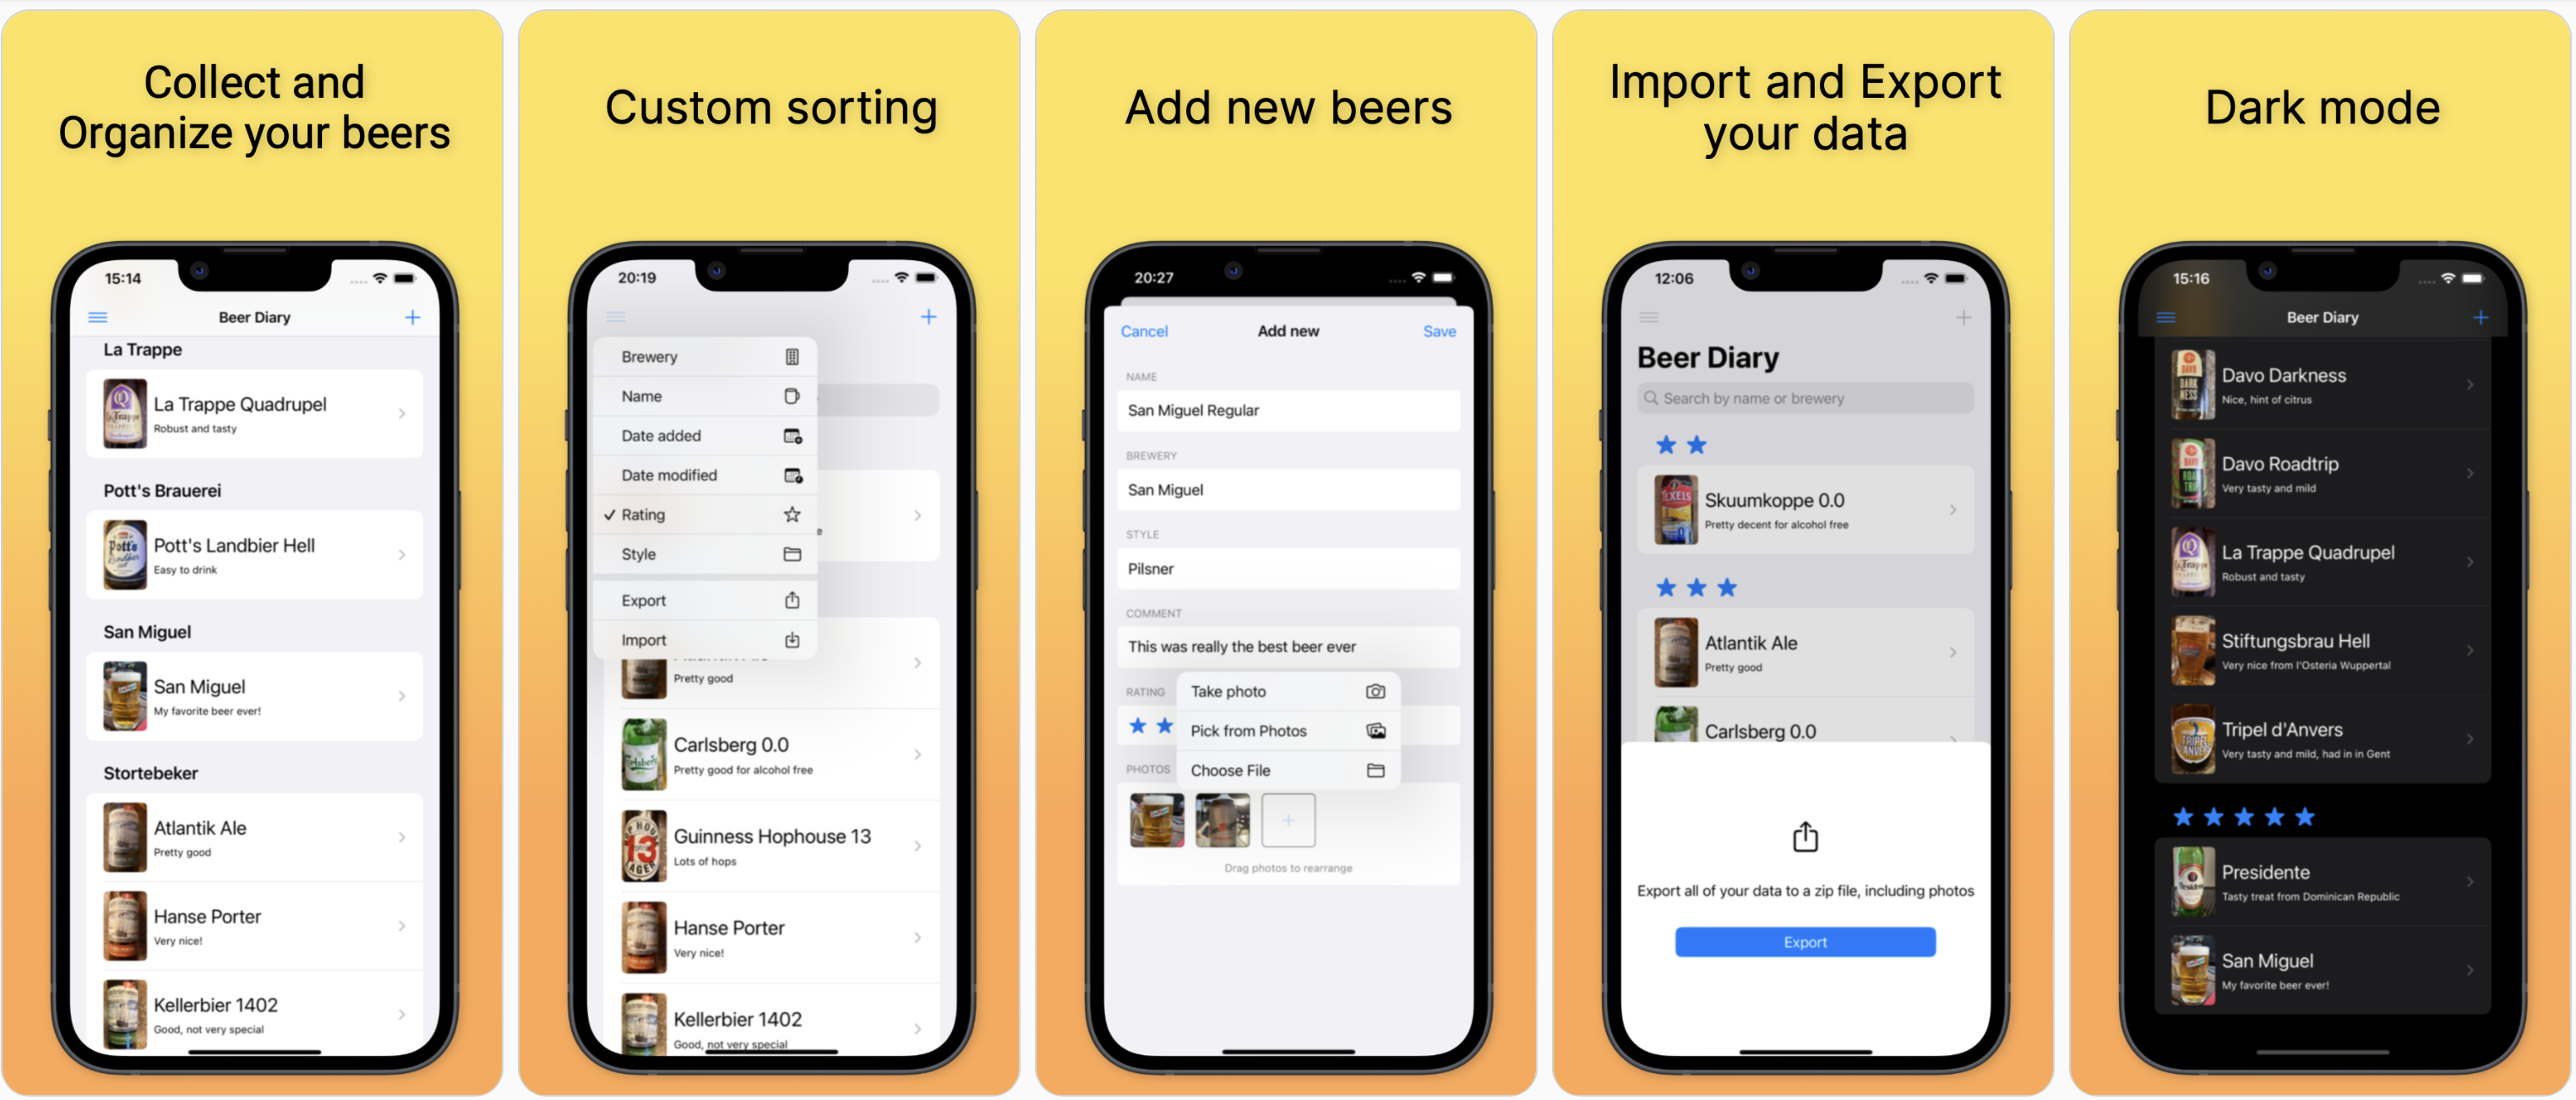
Version 1.5.1 of my BeerDiary app is now live on the iOS AppStore! You can download it here. This version is a bug fix of version 1.5.0.
I would love to receive your feedback. If you have questions or remarks don’t hesitate to send me a message.
New features
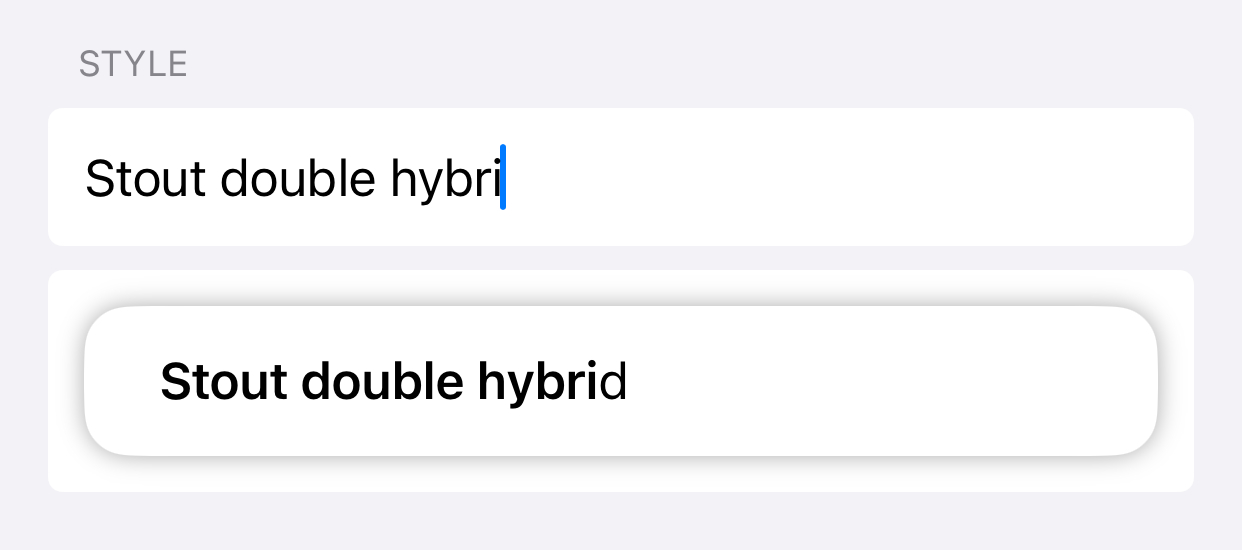
Added Style field
You can now enter the style of a beer (e.g. IPA, Pilsner, Blonde) in the detail screen. Data entry uses auto complete based on your existing entries similar to how the Brewery field works:
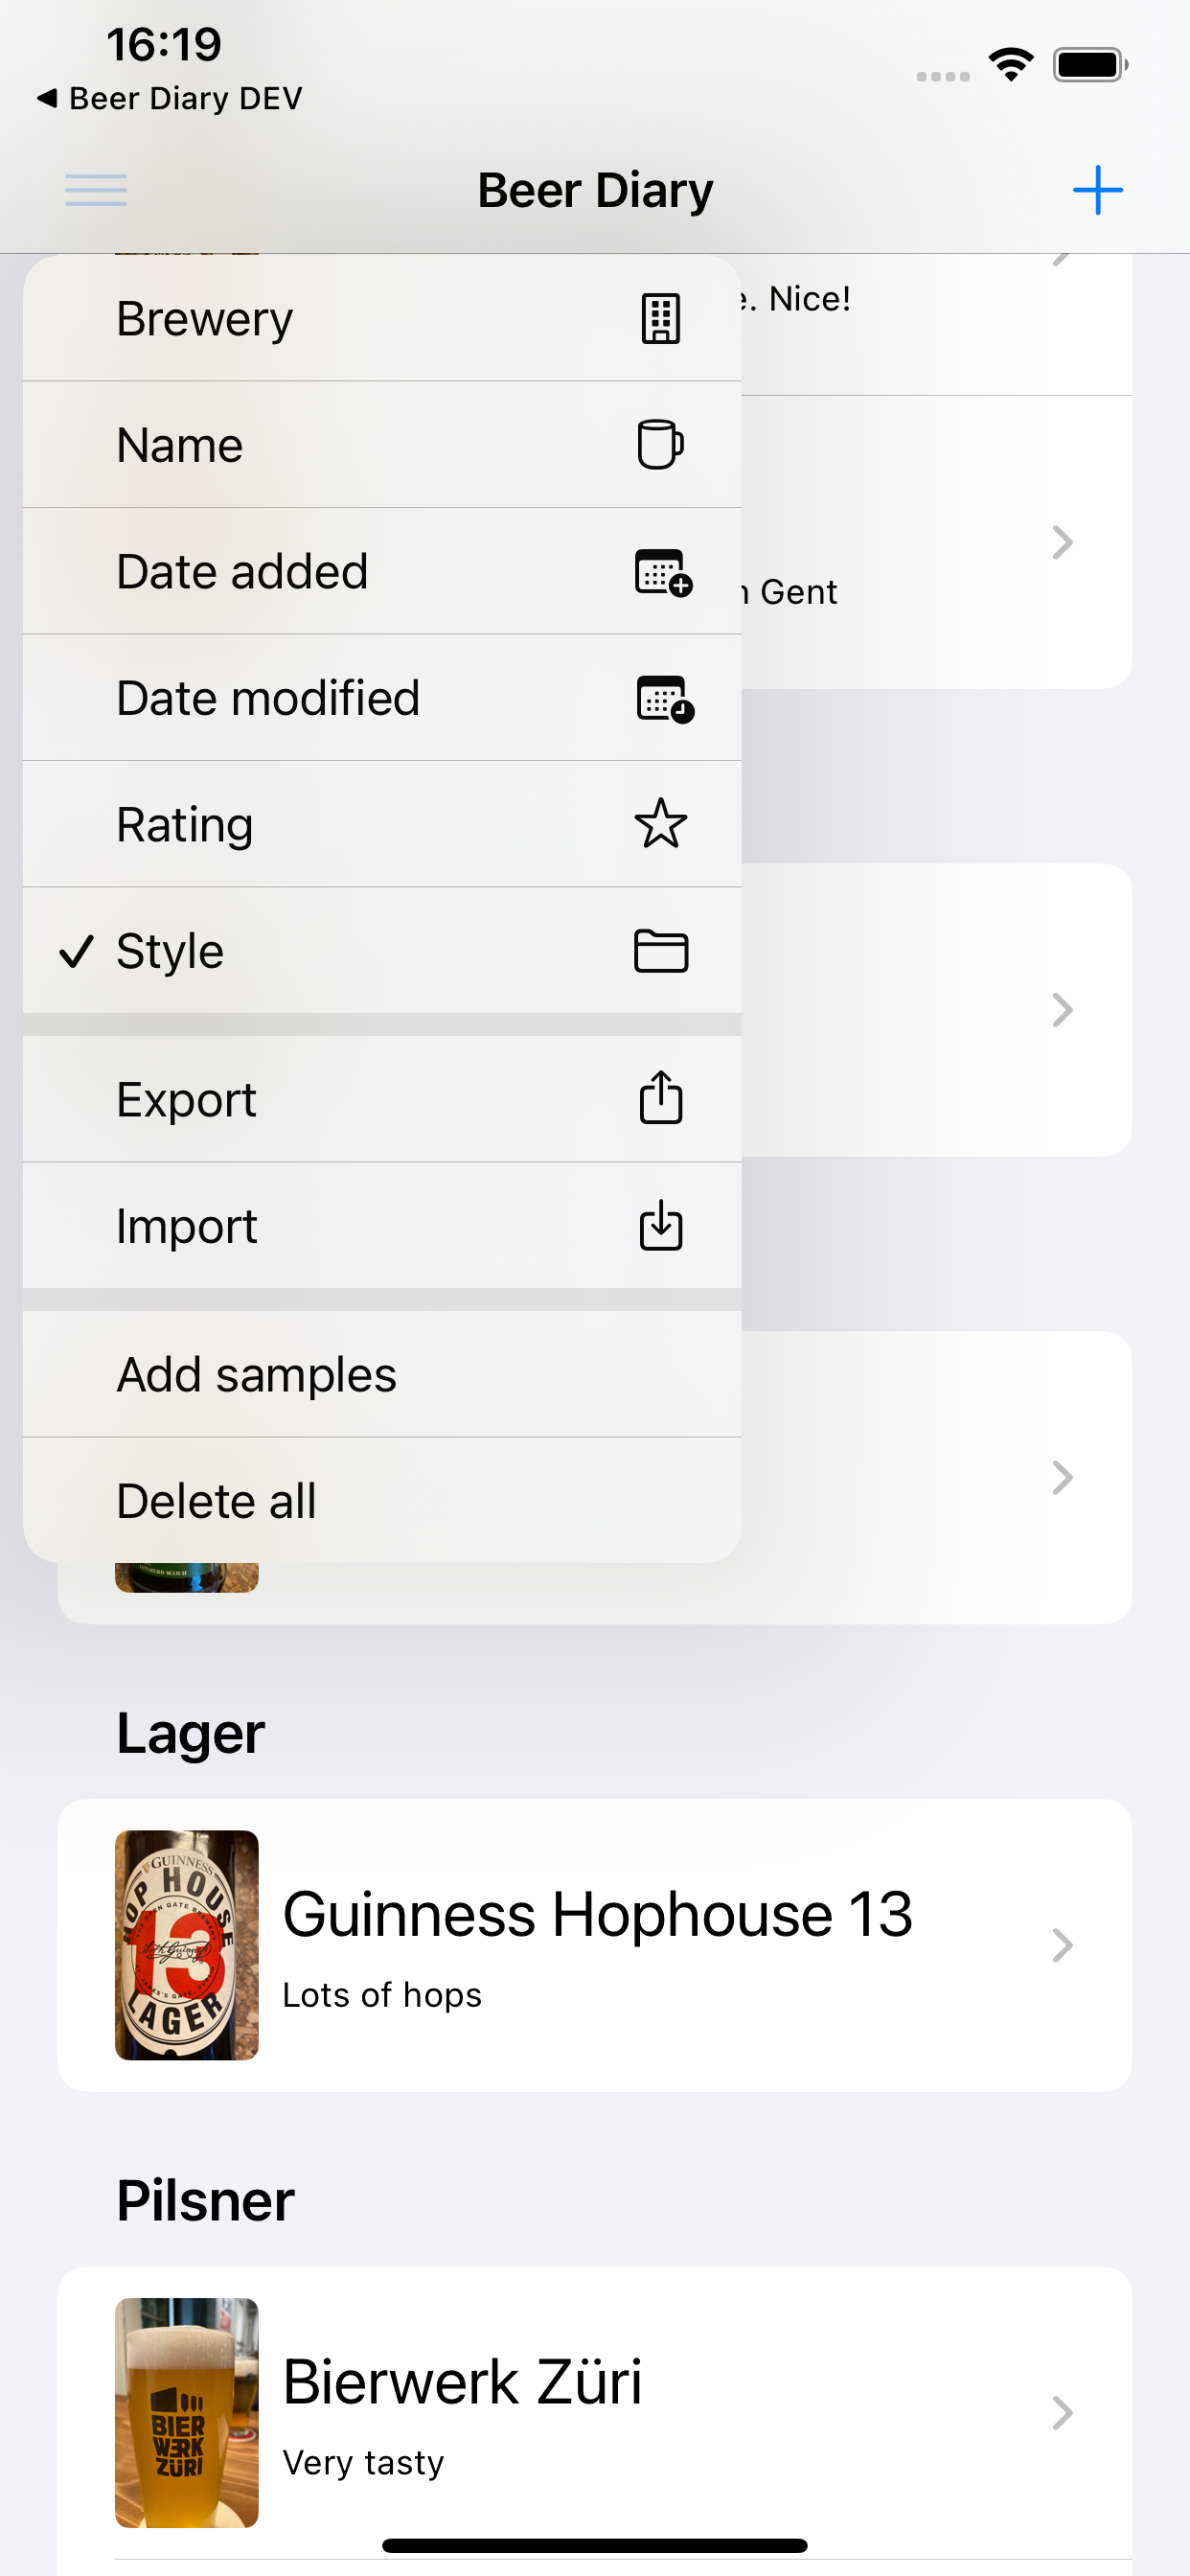
Of course you can also group the main view by this new field:
Improved adding photos
First of all, it is now possible to add photos from the Files app:
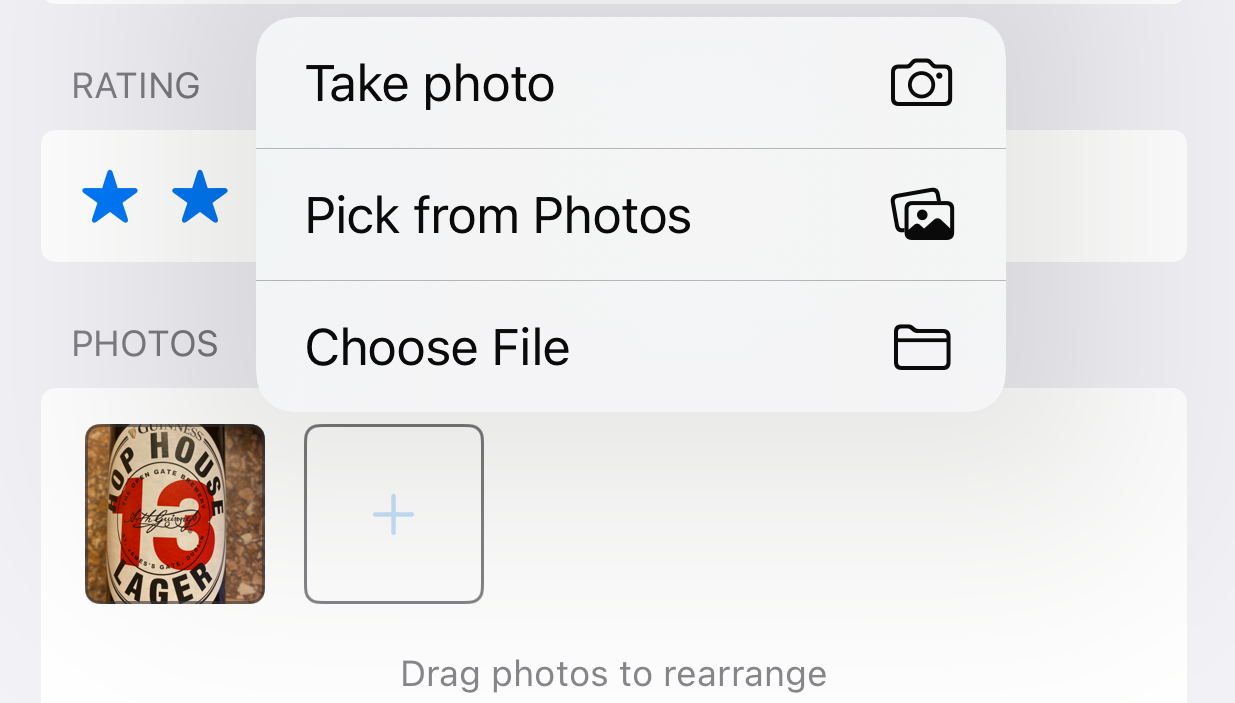
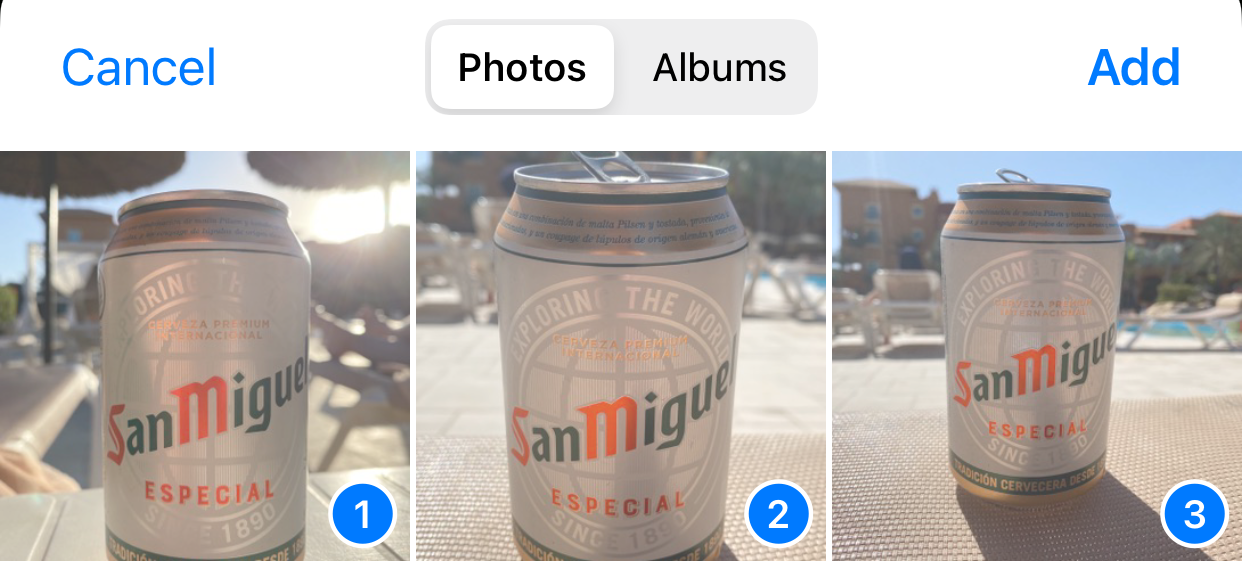
And from Photos, you can now easily add multiple photos at the same time:
Rearrange photos with drag and drop
This feature has been on top of on my wish list for a while! You can now change the order of the photos in the detail view by simply dragging and dropping them to the correct order. The first image will be the thumbnail shown in the main list.

Share individual photos and pinch to zoom
This feature was requested and it is actually really useful. In the large photo view screen, there is now a ‘Share’ button on the bottom left side that will open the standard iOS share sheet.

And as a bonus, you can now also pinch to zoom in this screen. Double tap to restore the original zoom.
Inproved app performance
The performance of the main list has been improved, for technical details refer to this blog post.
Implementation notes
Feel free to skip this section if you’re not that technical 😁
A bug in 1.5.0 🐛
While testing the 1.5.0 release, I triggered an issue where the photo screen (the big photo view where you can delete or share a photo) would quickly disappear on some devices. I had some simulators that had this behaviour and some that did not. This, in my experience, hints at some timing or race condition.
Despite my experience that this kind of behaviour always indicates some kind of bug, I decided that I could still proceed with the release because it did not happen often. I should have known better of course 🤓.
Shortly after the release, a user already noticed the same bug. So I had to come up with a fix.
MVVM
The app is built using SwiftUI but I also applied the MVVM architecture. This means, in short, that most logic and state lives in a ViewModel and not in the actual View. It allows for a nice separation between the UI and the actually logic behind it. Because it is nice to inject this ViewModel into a View, it is specified as a parameter in init. So the general setup is:
1
2
3
4
5
6
7
8
9
10
11
12
13
14
15
struct SomeView: View {
    @ObservedObject var viewModel: SomeViewModel

    var body: some View {
        Text(viewModel.text)
    }
}

class SomeViewModel: ObservableObject {
    init(text: String) {
        self.text = text
    }

    @Published var text: String
}
and the SomeView is created from another View like this:
1
2
3
4
5
6
struct MainView: View {
    var body: some View {
        SomeView(viewModel: SomeViewModel(text: "Some text"))
    }
}
In my app I actually switched @ObservedObject to @EnvironmentObject and injected the ViewModel like this:
1
2
3
4
5
6
7
struct MainView: View {
    var body: some View {
        SomeView()
            .environmentObject(SomeViewModel(text: "Some text"))
    }
}
But in the end the idea is the same.
A bug in my implementation of MVVM
As you might have noticed, there is a bug in this setup. Each time the View is reconstructed by SwiftUI, the ViewModel is also reinitialized again. So that means that if one of the Views changes, the hierarchy will be reconstructed. In my case, the child View was actually a .sheet and when this happened the dismiss property got reset, making the View disappear quickly. A quick way to diagnose this is to add some print statements to the ViewModel init.
The upside of this setup is that your Views will always display the right data. The downside is that you’re wasting CPU time recreating the ViewModels and there is a risk of introducing bugs like the .sheet disappearing.
Of course, I made an error from the start. Instead of @ObservedObject (or @EnvironmentObject, it does not matter for this argument) the View should actually own the ViewModel. This can be done by switching to @StateObject. I initially made this change but then things started breaking in other ways. Views were no longer reflecting the actual state of the CoreData entity that supplied data to the view. I’m sure that there is a solution for this as well but I already had some other thoughts in the back of my mind about this whole setup.
Alternative approach: MV architecture
There is fundamentally nothing wrong with MVVM and @StateObject so the bug described above is entirely of my own making. Also the lack of View updates indicates I personally need to study it more.
However, I’ve been reading a lot of articles lately where the tendency seems to be that MVVM is actually already built in to SwiftUI and you should just use @State and @ObservedObject in the View, no need for a separate ViewModel. Any pieces of big logic should be moved to global services that are available through the Environment. By lack of a formal name, it is often called the MV architecture. An introduction can be found in this article from Mohammad Azam.
Converting the View
As an experiment, I tried the first part of this approach: remove the need for a separate ViewModel. State and logic was moved back to the View itself.
What I expected would happen:
- The View would become quite big and messy tracking all necessary state.
- Logic would be sprinkled throughout the View.
But the actual result was:
- Most importantly, the bug was fixed.
- The View itself became quite simple, actually not that much code and state needed to be added.
- A lot of supporting View logic could be moved to for instance CoreData entities, where it makes more sense anyway to have it all grouped together.
- The View started behaving as it should, monitoring the
Self._printChanges()output I saw that SwiftUI was much more aware of any changes. - Any remaining logic, I just put in a separate Extension file that I called
View+Model.swift.
It feels a bit like cheating (I could have solved the @StateObject bug and moved on) but to me this approach actually makes a lot of sense. It’s hard to describe but there is also the feeling that this approach is more closely aligned with how Apple expects you to use SwiftUI. And it removes a layer of indirection that is a potential source of bugs.
I’m actually considering doing this change for the rest of the app as well. I will post my conclusions here on my blog. To be continued!
Main thread hang
In my implementation of the main list screen, I accidentally specified both an id in the ForEach and also added it to the item view like this:
1
2
3
4
5
6
7
8
9
10
List {
    ForEach(beers) { section in
        Section(header: headerContent(section.id)) {
            ForEach(section, id: \.wrappedBeerId) { beer in
                ListItemView()
                    .id(beer.wrappedBeerId)
                    .environmentObject(ListItemViewModel(beer: beer, viewContext: viewContext))
            }
    }
}
This was bad for performance because it causes all ListItemView to be loaded immediately. After the fix described in this blog post the list loads much faster and instantiates the ListItemVew views only when they are needed.
Removal of SwiftUI Form to support drag and drop
The detail screen (where you enter beer details) was initially constructed using the SwiftUI Form view. In my experience, Form is a great way to get a basic UI up and running that looks and feels native. However, when adding the drag and drop functionality for thumbnails I hit some limitations. As it turns out, the Form interferes with any DragGesture you want to implement in a sub view. The dragEnded event is not fired reliably. I got it working but it was only about 70% reliable. So in the end I decided to switch the details screen to a VStack with my own Form-like layout. With this, the drag and drop was 100% reliable.